Greg Reese is a first-generation regenerative farmer leading Fox Point Farms in Encinitas, California
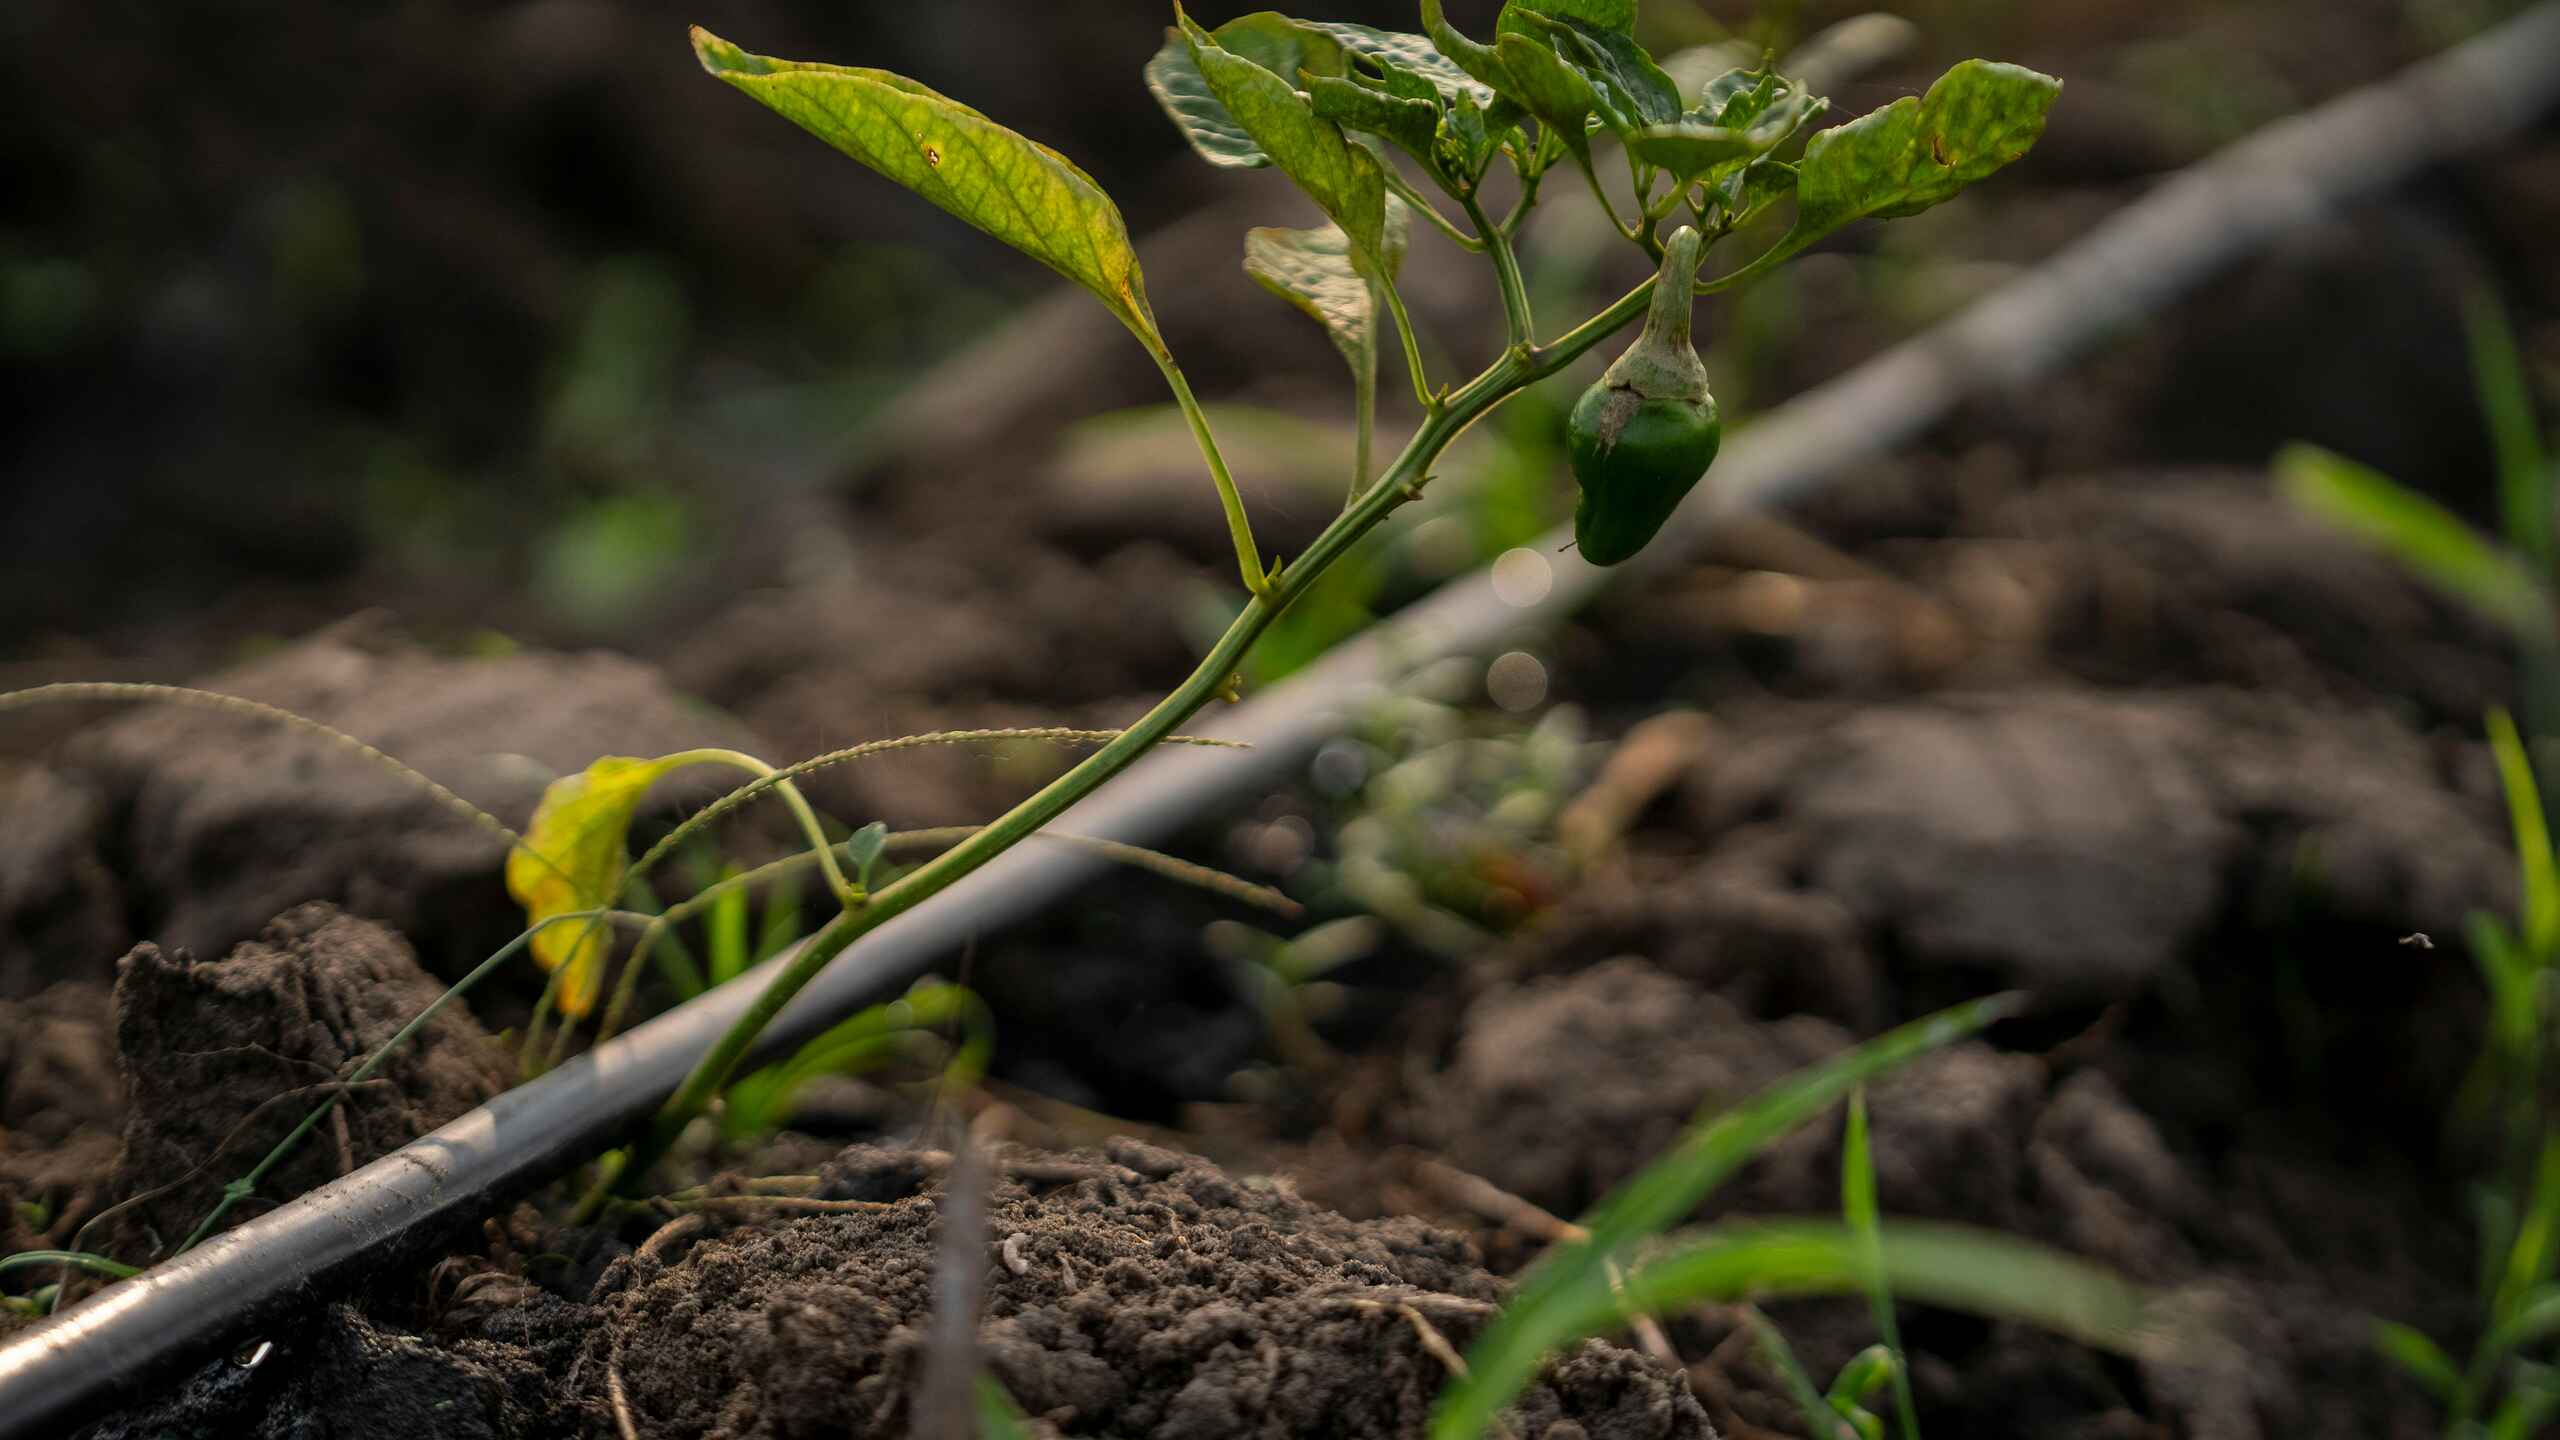
How to Install Drip Tubing in a Raised Garden Bed
Learn how to set up drip tubing in a raised bed to create efficient, even irrigation that supports healthy plants and makes home gardening simple and low-maintenance.
Key takeaways for setting up drip tubing in a raised garden bed:
Tubing Types and Connections
Black poly supply line: Solid tubing with no holes that carries water from the timer and filter to the garden bed
Brown drip line: Tubing with built-in emitters that release water directly to plants
Compression couplings: Connect the black supply line to the brown drip line and other system parts
Barbed fittings (T’s and elbows): Used to branch or redirect tubing within the bed
System Layout and Configuration
For raised beds, run 2–3 parallel drip lines for even coverage
Use a barbed T-fitting to split into a middle line
Use 90-degree elbow fittings for corners and outer edges
Layout can be eyeballed based on bed width rather than precise measuring
When cutting drip line, cut 4–6 inches away from an emitter to avoid damaging it
Installation Best Practices
Preventing backflow: A backflow preventer is necessary to stop dirt or debris from entering the tubing and damaging the system
Managing coiled tubing: Drip tubing often retains a coiled shape and may spring up; secure it with 6-inch landscape staples, light weights, or by placing it in a shallow furrow
Emitter orientation: Some prefer to face emitters upward to reduce debris entry, even though they contain small internal filters
Testing: Turn water on after installation to check for leaks, clogs, or connection issues
Timer Setup
Program the timer following manufacturer instructions to set date and time
Schedule watering for a specific time of day and duration
Example: 15 minutes every other day
More Education Articles


Support our work
Stay Connected
You’ll receive our monthly Field Notes newsletter, project updates, and free resources, plus you’ll get first access to new stories.

Make a Donation
Your tax-deductible gift fuels the storytelling that shifts culture, the organizing that turns awareness into collective action, and the relationships that make long-term systems change possible.